4WD Arduino Robot Car
This project implements a 4-wheel drive robotic platform controlled wirelessly via Bluetooth from a mobile device. It utilizes an Arduino microcontroller, an L298N motor driver, and an HC-05 module to enable real-time steering and PWM-based speed control. The system is designed as an open-source educational tool for learning hardware assembly, wireless communication, and embedded programming.
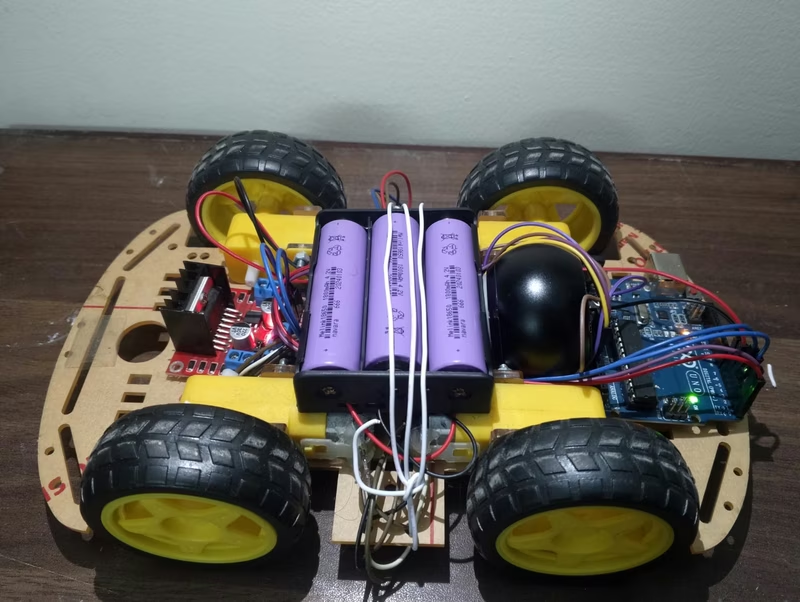
Introduction to the 4WD Arduino Robot Car
The 4WD Arduino Robot Car is a comprehensive robotics project designed to transform a standard 4-wheel drive chassis into an interactive, wirelessly controlled vehicle. By combining hardware assembly with Arduino programming, this project provides a functional platform for enthusiasts and students to explore the fundamentals of robotics and wireless communication. The system is built around the idea of mobile control, allowing users to drive the car using a custom smartphone interface via a Bluetooth connection.
Project Overview
At its core, the project uses an Arduino Uno or Nano microcontroller to interpret commands received over a serial interface. These commands are transmitted from a mobile application to an HC-05 Bluetooth module connected to the Arduino. The controller then processes these signals to drive an L298N Dual H-Bridge motor driver, which manages the power and direction of the four DC motors. This architecture allows for a responsive and expandable system capable of handling various maneuvers.
Key Features and Capabilities
The robot car is equipped with several features that enhance its performance and usability:
- Wireless Control: Utilizes Bluetooth 2.0 connectivity with a range of up to 10 meters.
- 4WD System: Four-wheel drive provides superior traction and stability across different surfaces.
- Speed Control: Implements Pulse Width Modulation (PWM) to allow for variable speed adjustments rather than simple on/off movement.
- Real-time Response: A low-latency control system ensures that the car reacts immediately to inputs from the mobile application.
- Expandability: The design is modular, making it easy to integrate additional sensors like ultrasonic modules for obstacle avoidance or OLED displays for status monitoring.
Hardware Architecture and Circuitry
The hardware setup relies on a few critical components working in tandem. The Arduino serves as the brain, while the L298N motor driver acts as the muscle, handling the high current required by the DC motors. Power is typically supplied by 18650 Li-ion batteries, providing a reliable 7.4V to 12V source for the motors and the microcontroller.
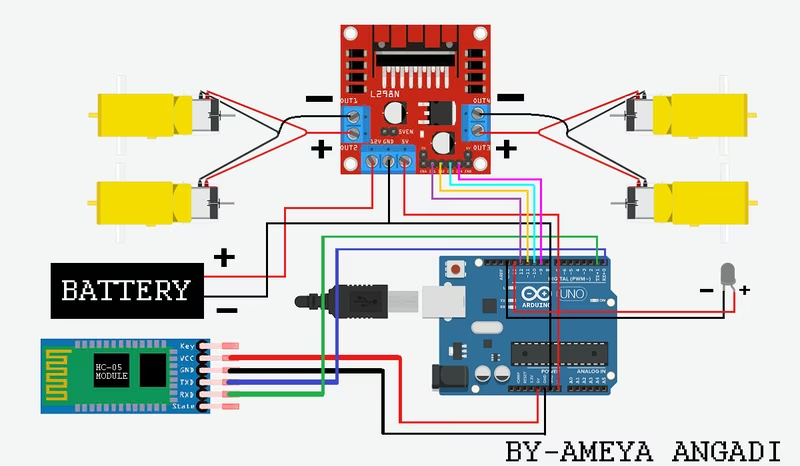
The wiring involves connecting the digital pins of the Arduino to the input pins of the L298N (IN1, IN2, IN3, and IN4) for direction control, and using PWM-capable pins (ENA and ENB) for speed regulation. The HC-05 Bluetooth module is connected to the Arduino’s hardware serial pins (TX and RX), allowing for seamless data exchange.
Software Design and Setup
The software is written in the Arduino environment and focuses on serial data processing. The code listens for specific character commands—such as ‘F’ for forward, ‘B’ for backward, ‘L’ for left, and ‘R’ for right. When a command is received, the Arduino toggles the appropriate GPIO pins to drive the motors.
Setting up the software involves using the Arduino IDE to flash the controller. Once the code is uploaded, the robot requires a Bluetooth controller app on a mobile device. After pairing the HC-05 module (typically using the default PIN 1234), the app must be configured to match the 9600 baud rate defined in the firmware. This synchronization ensures that the mobile interface correctly maps buttons to the serial characters expected by the Arduino.
Assembly and Testing
Building the robot follows a logical progression from mechanical assembly to electrical wiring. After the 4WD chassis is assembled with its motors, the electronic components are mounted and wired according to the circuit diagram.
Testing the robot involves verifying the power indicators on the Arduino and motor driver. A critical step in the initial run is checking the motor polarity; if the car moves in the opposite direction of the command, the motor leads can be swapped to correct the orientation. Troubleshooting common issues usually involves checking battery voltage levels or ensuring the Bluetooth module is properly paired and connected to the mobile application.
Related Projects
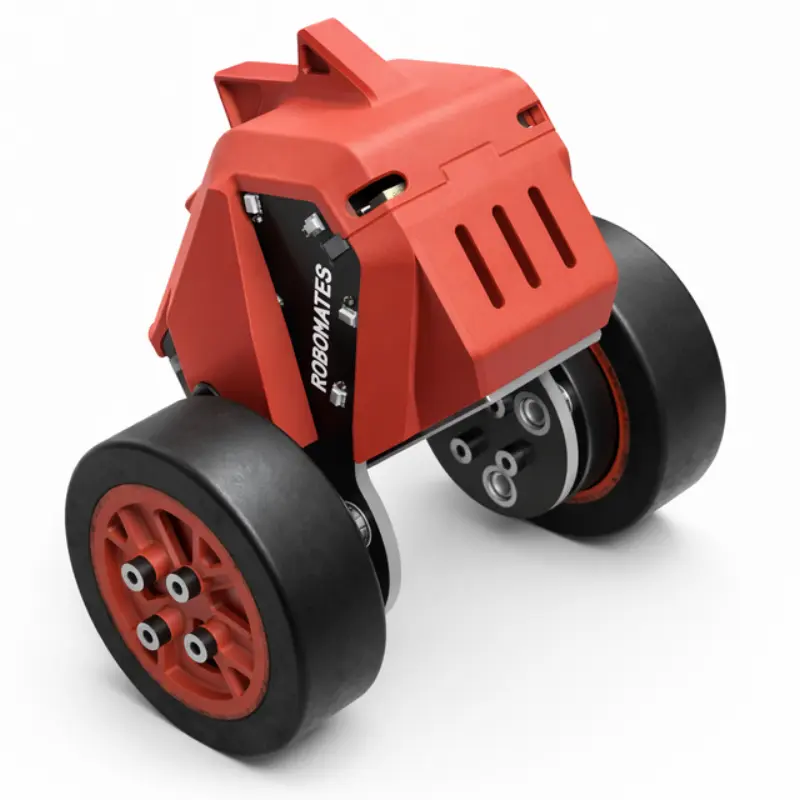
Robomates Firmware
Firmware for the Robomates self-balancing robot platform based on the ESP32 microcontroller. It utilizes field-oriented control (FOC) for brushless motors, sub-GHz radio for robot-to-robot communication, and Bluetooth for gamepad integration in multiplayer gaming environments.
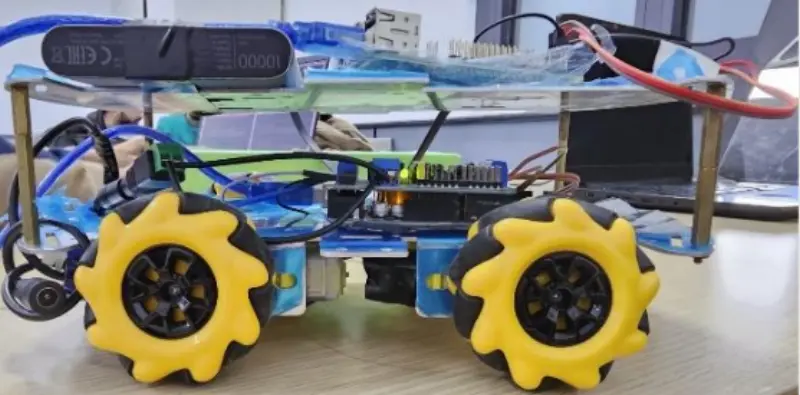
Mobile Mecanum 4WD Robot
A comprehensive robotics project featuring a 4WD mobile platform equipped with omnidirectional Mecanum wheels. It utilizes a dual-controller architecture with a Raspberry Pi running ROS1/ROS2 and an Arduino Mega for low-level motor control and sensor interfacing. The system implements PID control for precise movement and supports joystick operation via a ROS-based communication bridge.
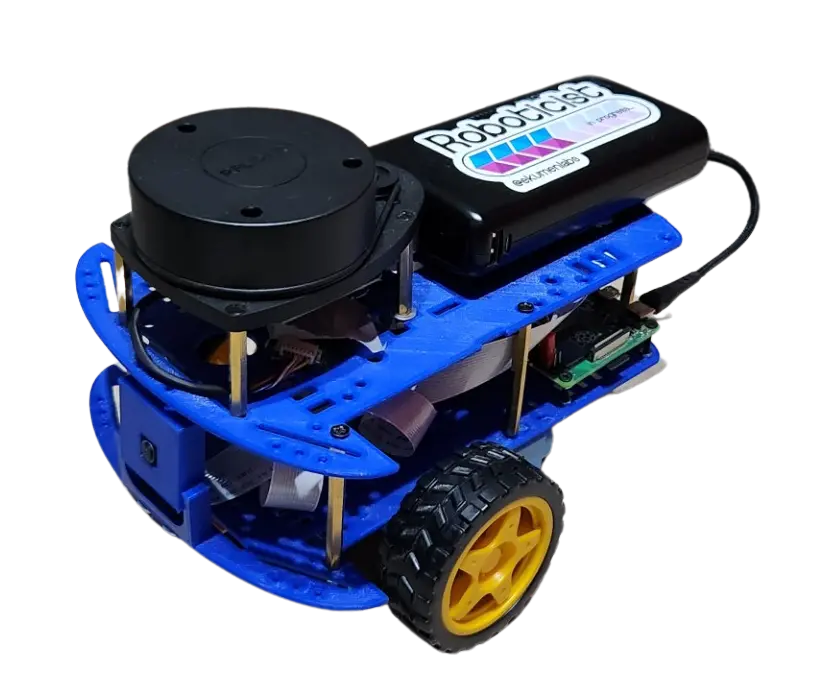
Andino: Open-Source ROS 2 Educational Robot
Andino is an open-source differential drive robot platform built for education and low-cost robotics research. It provides a complete ROS 2 Humble ecosystem, including microcontroller firmware, hardware descriptions, and integration with navigation and SLAM stacks. The project supports both physical hardware based on Raspberry Pi and a wide array of simulation environments like Gazebo and Webots.